Deploying My Website to Vercel with a Custom Domain
Learn how I bought a custom domain from Namecheap and deployed my website to Vercel.
Deploying a website with a custom domain can seem intimidating at first, but it’s actually straightforward. Here’s how I did it:
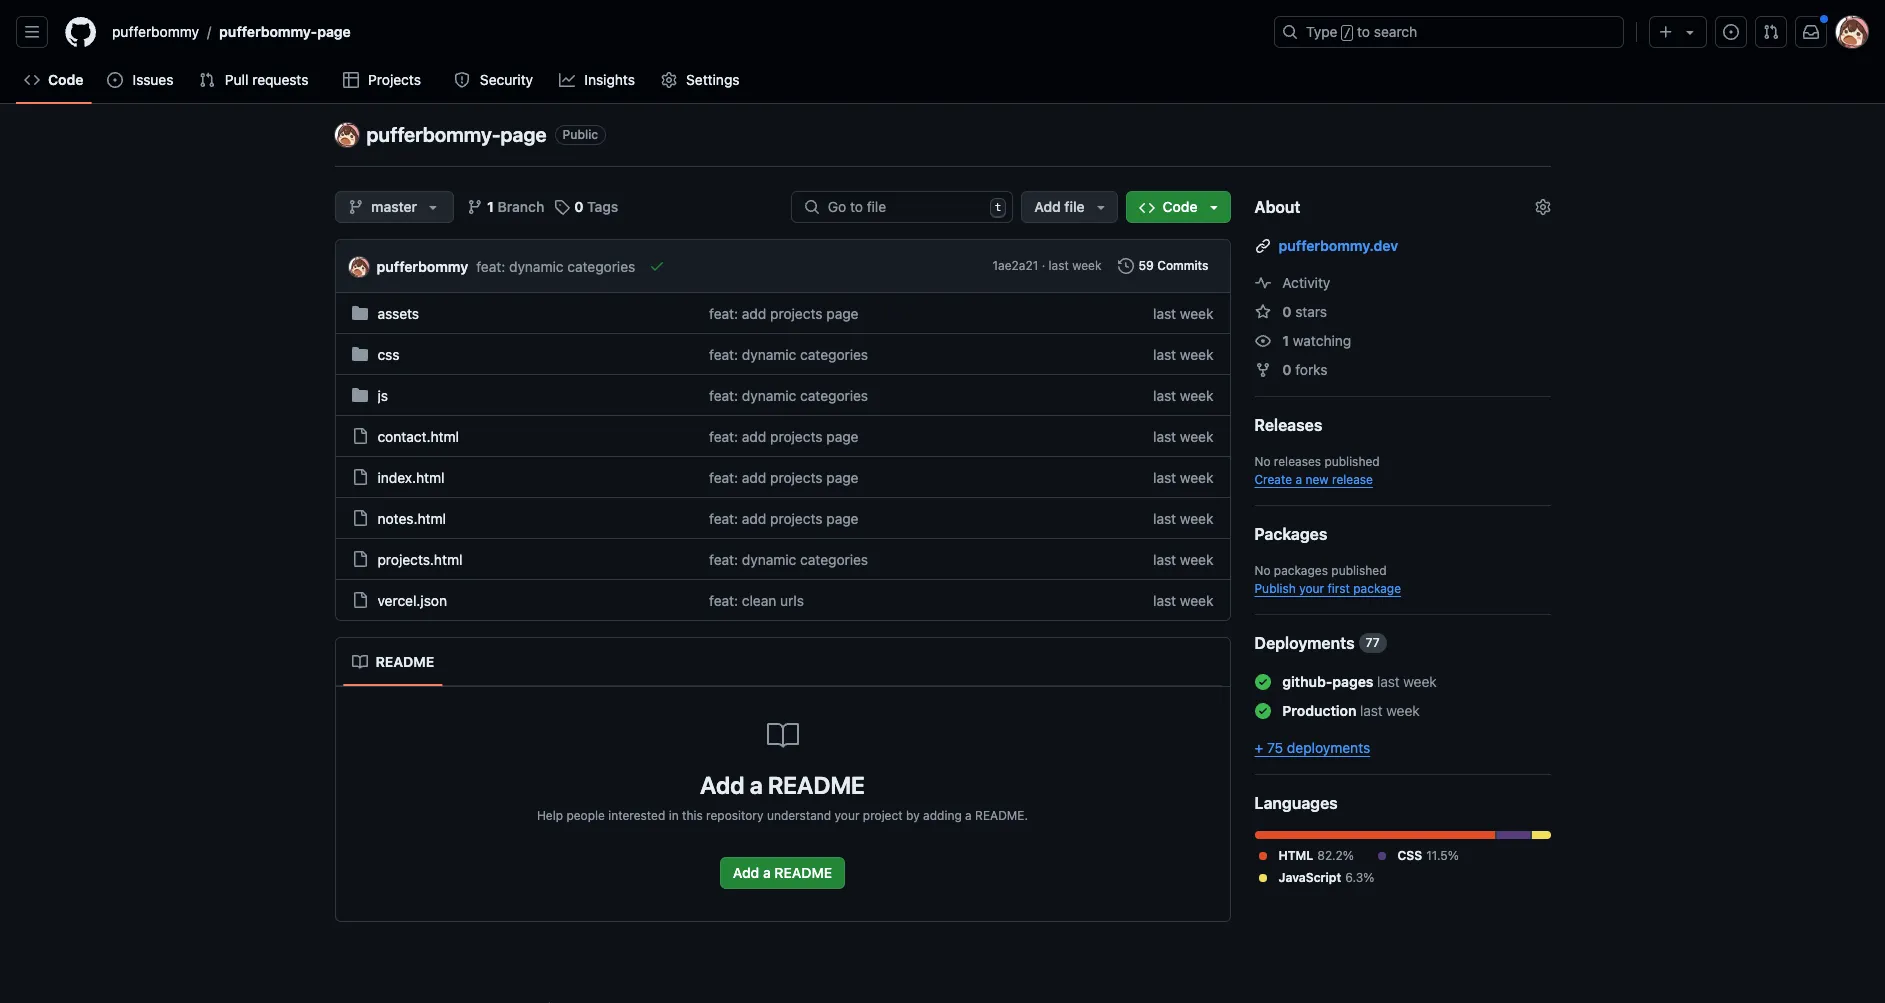
Step 1: Create a GitHub Repository
First, I created a GitHub repository and pushed my website’s code to the repository.
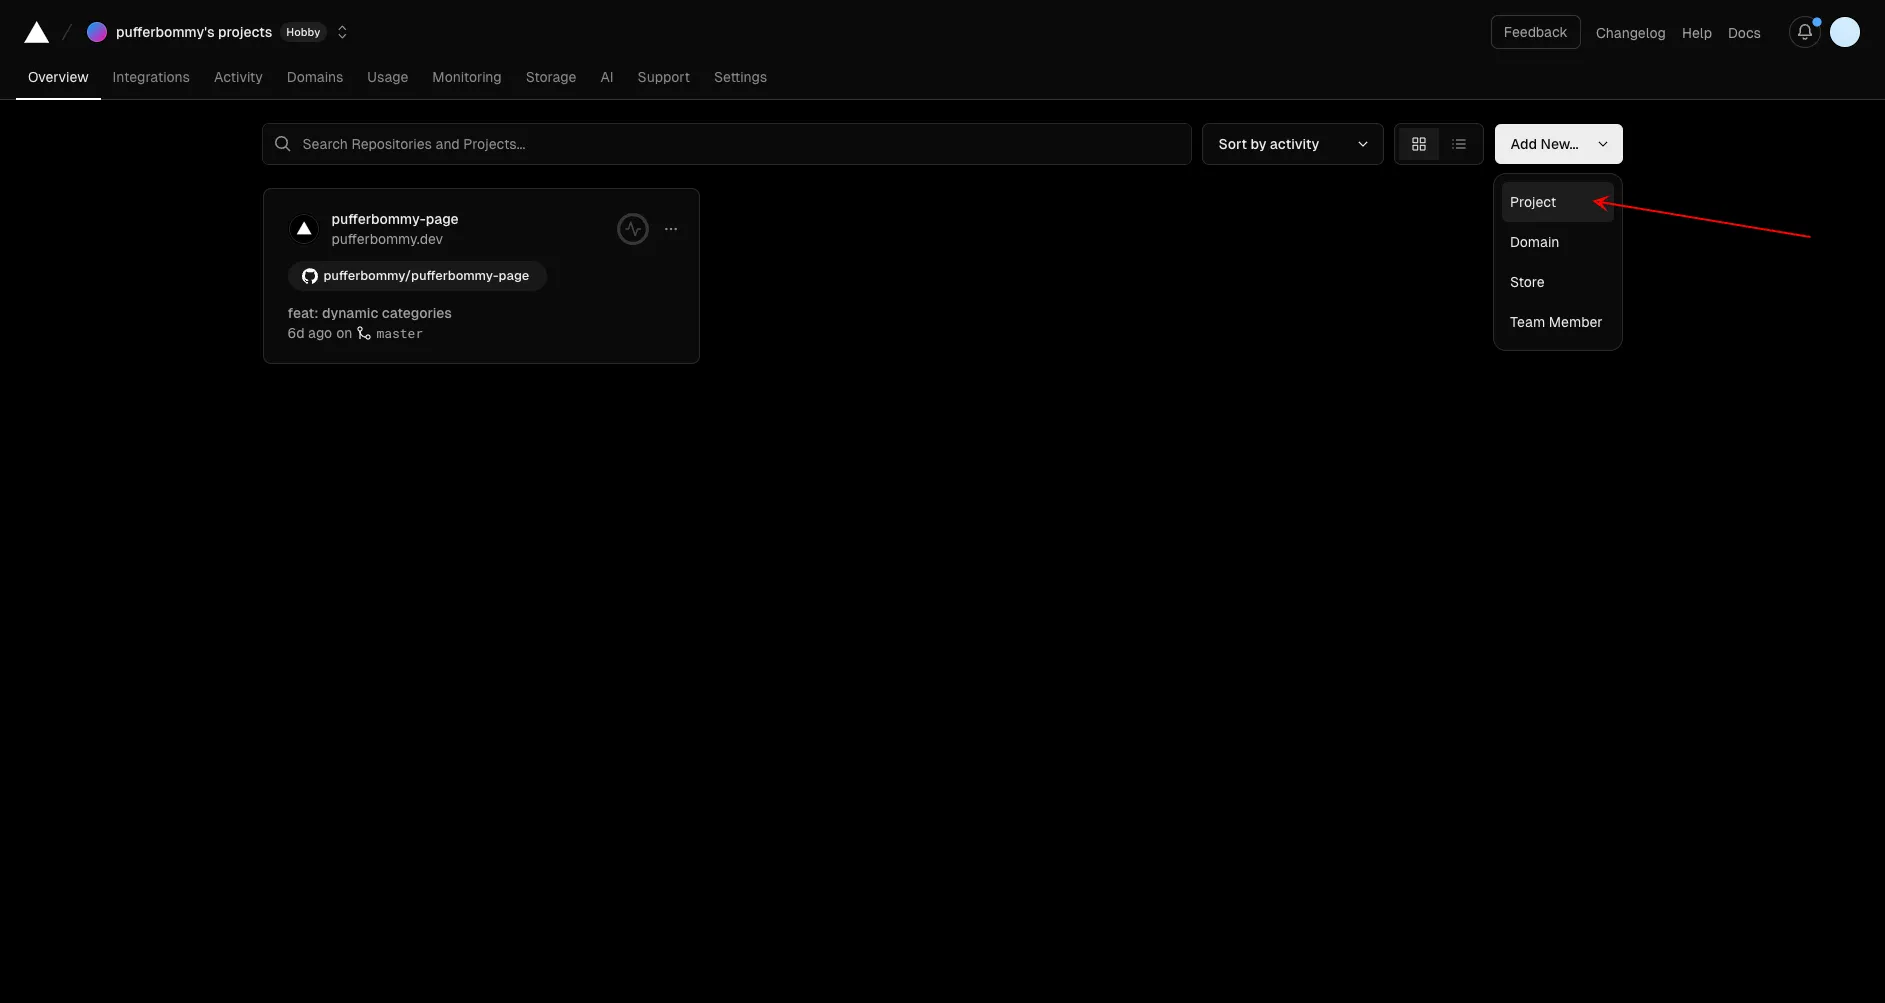
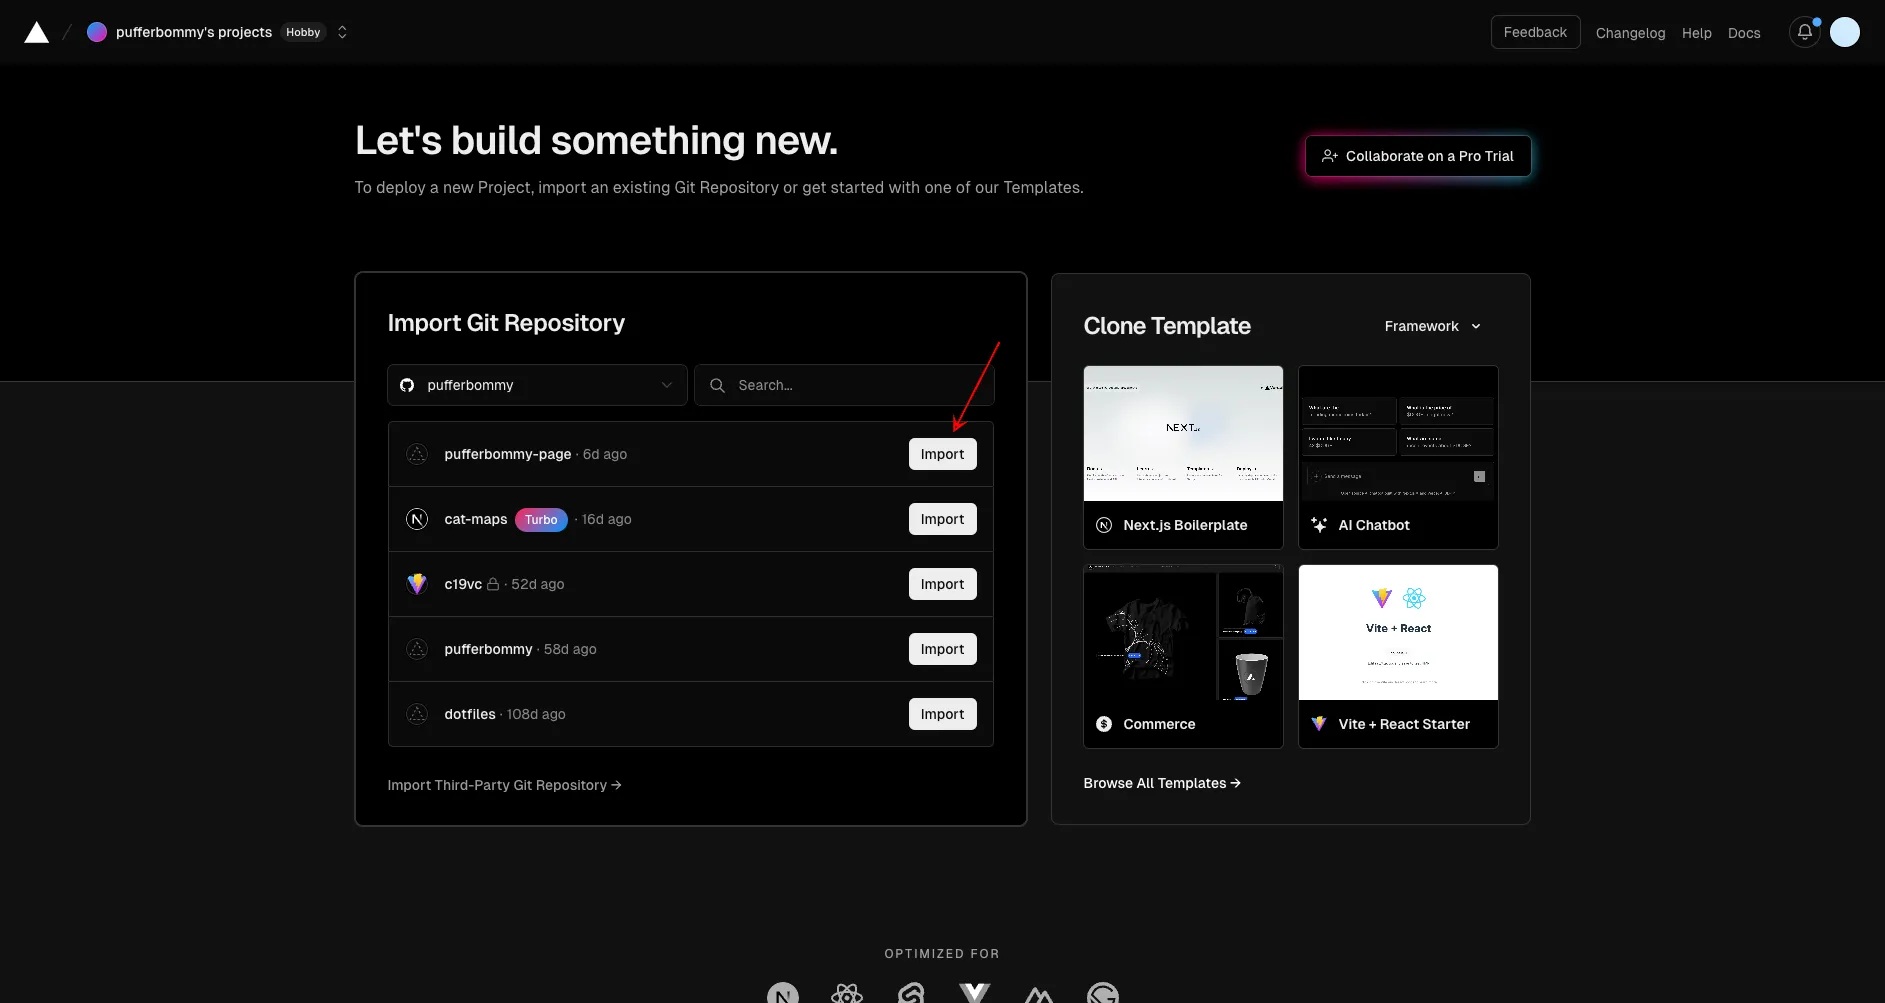
Step 2: Add a New Project to Vercel
Next, I added a new project to Vercel by importing the repository directly from GitHub.
Step 3: Deploy the Website
Once the project was set up, I deployed the website on Vercel.
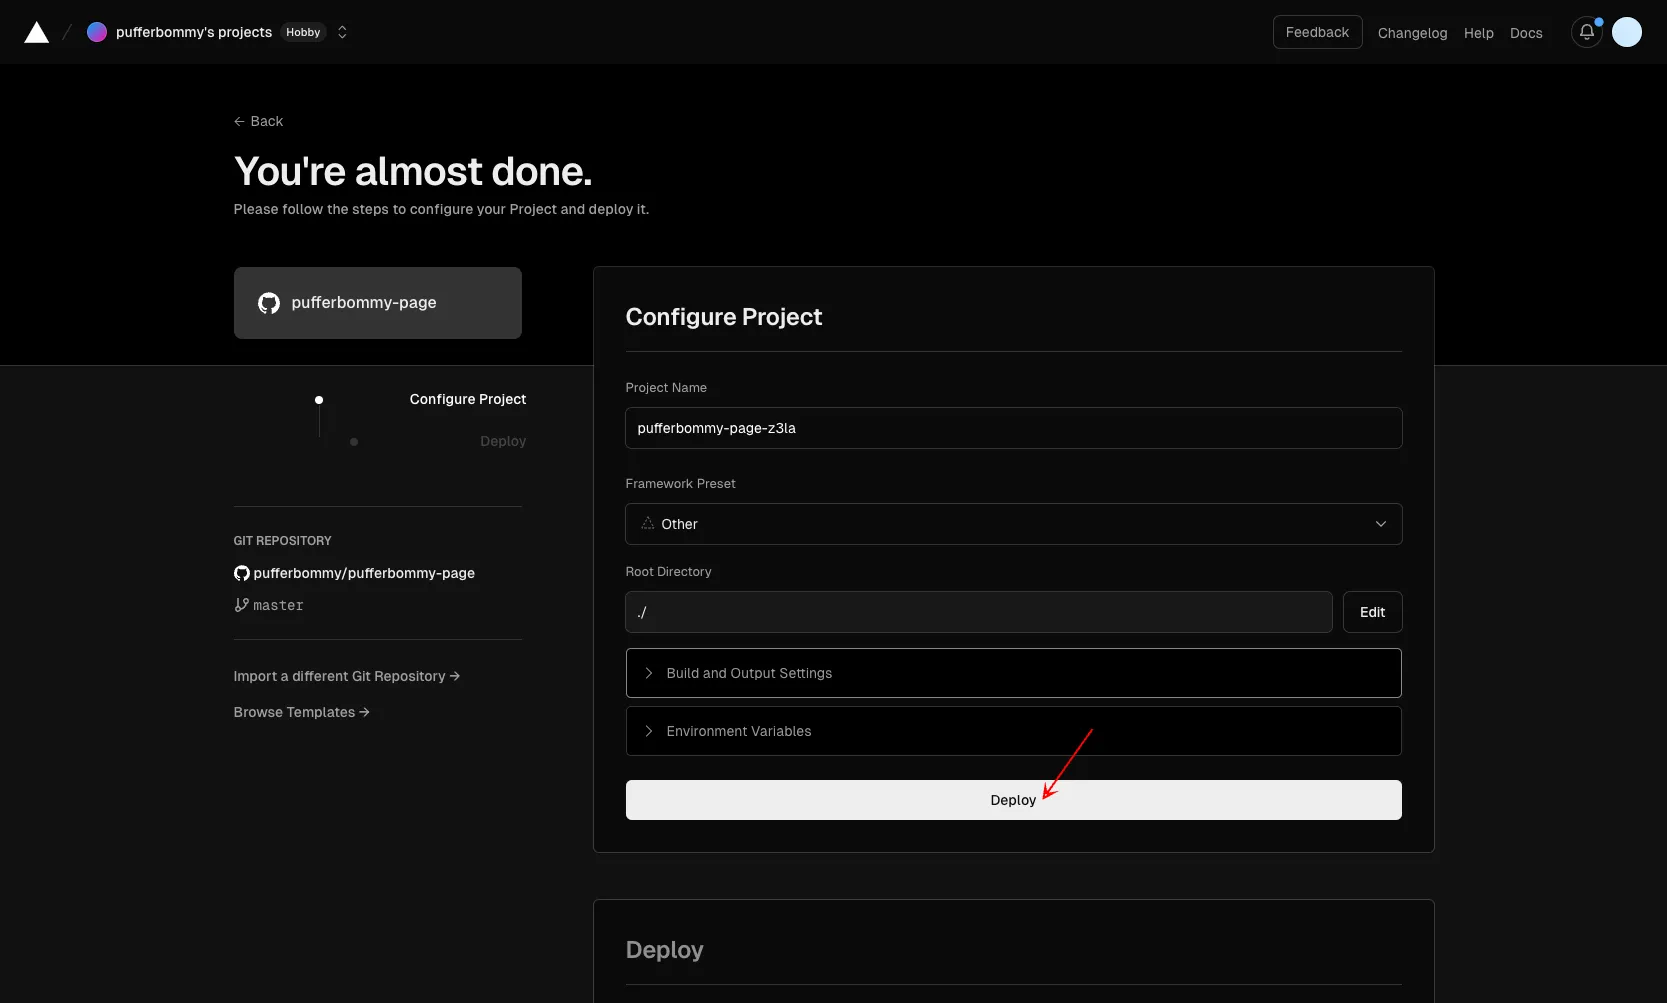
At this point, the website was live, but it was using Vercel’s default domain instead of my custom domain.
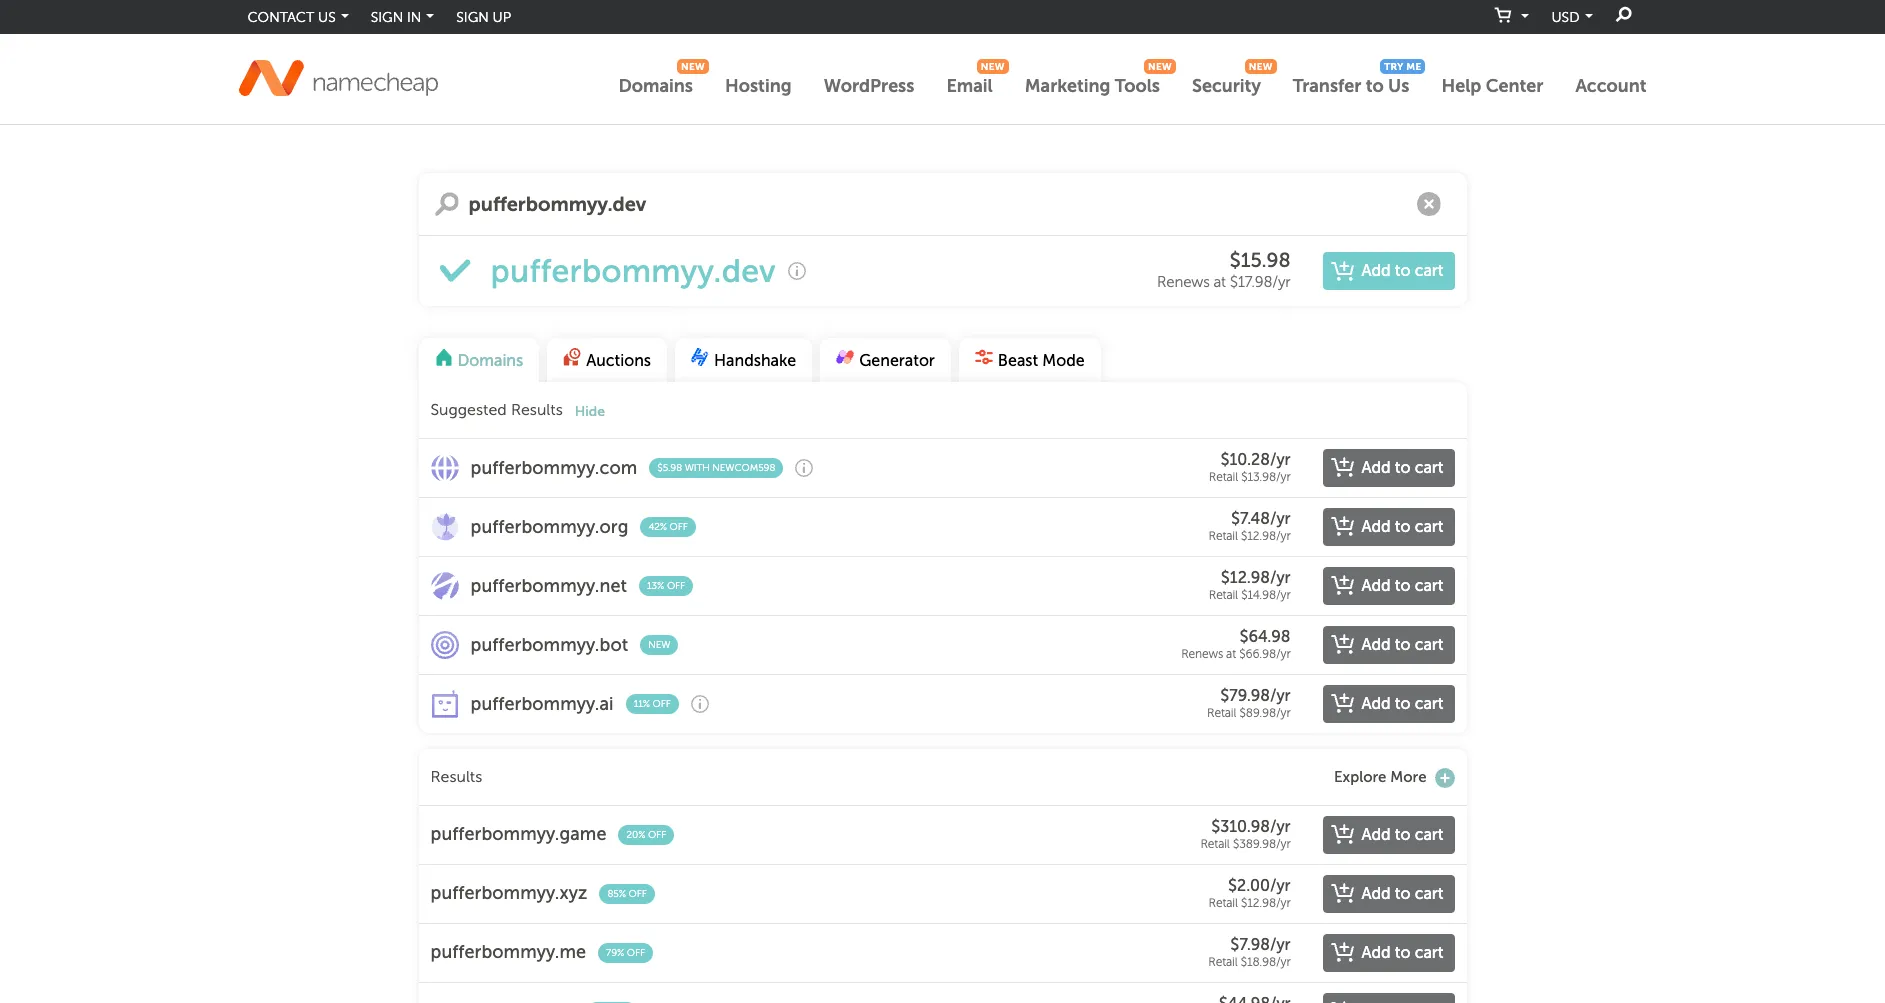
Step 4: Purchase a Custom Domain
I purchased a custom domain from Namecheap.
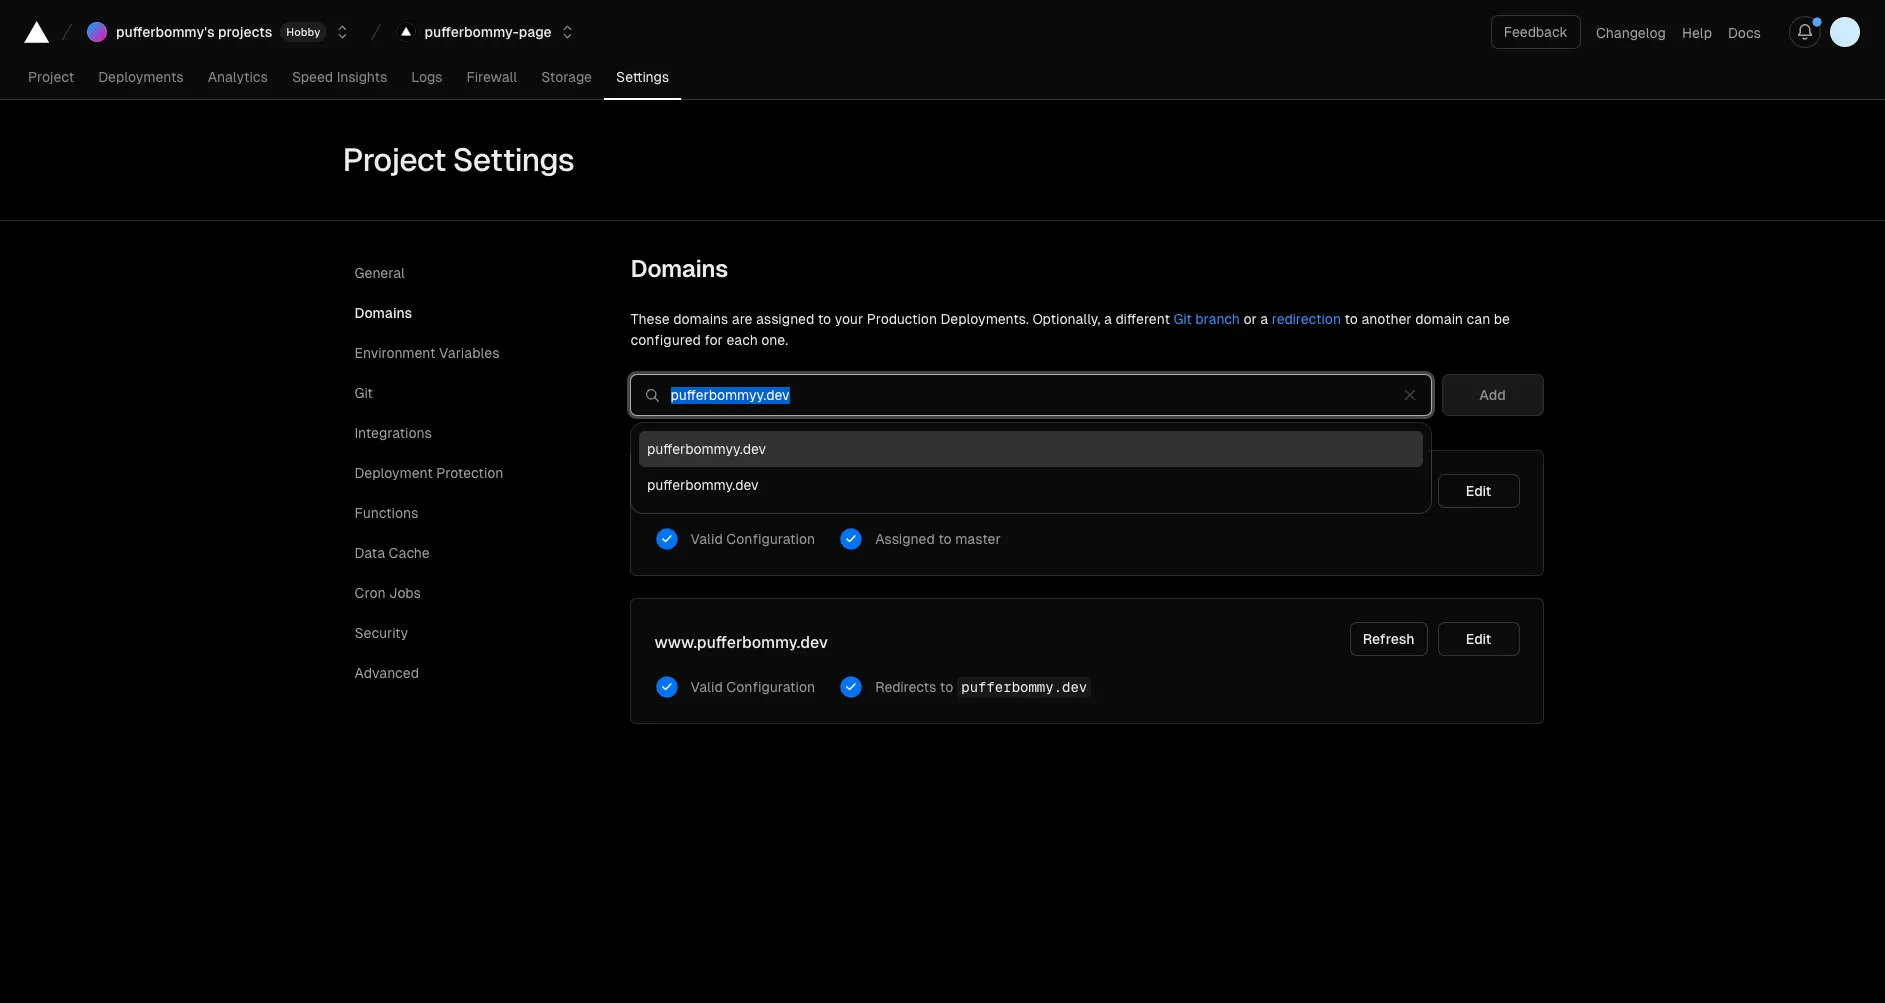
Step 5: Add the Domain to Vercel
After purchasing the domain, I added it to Vercel.
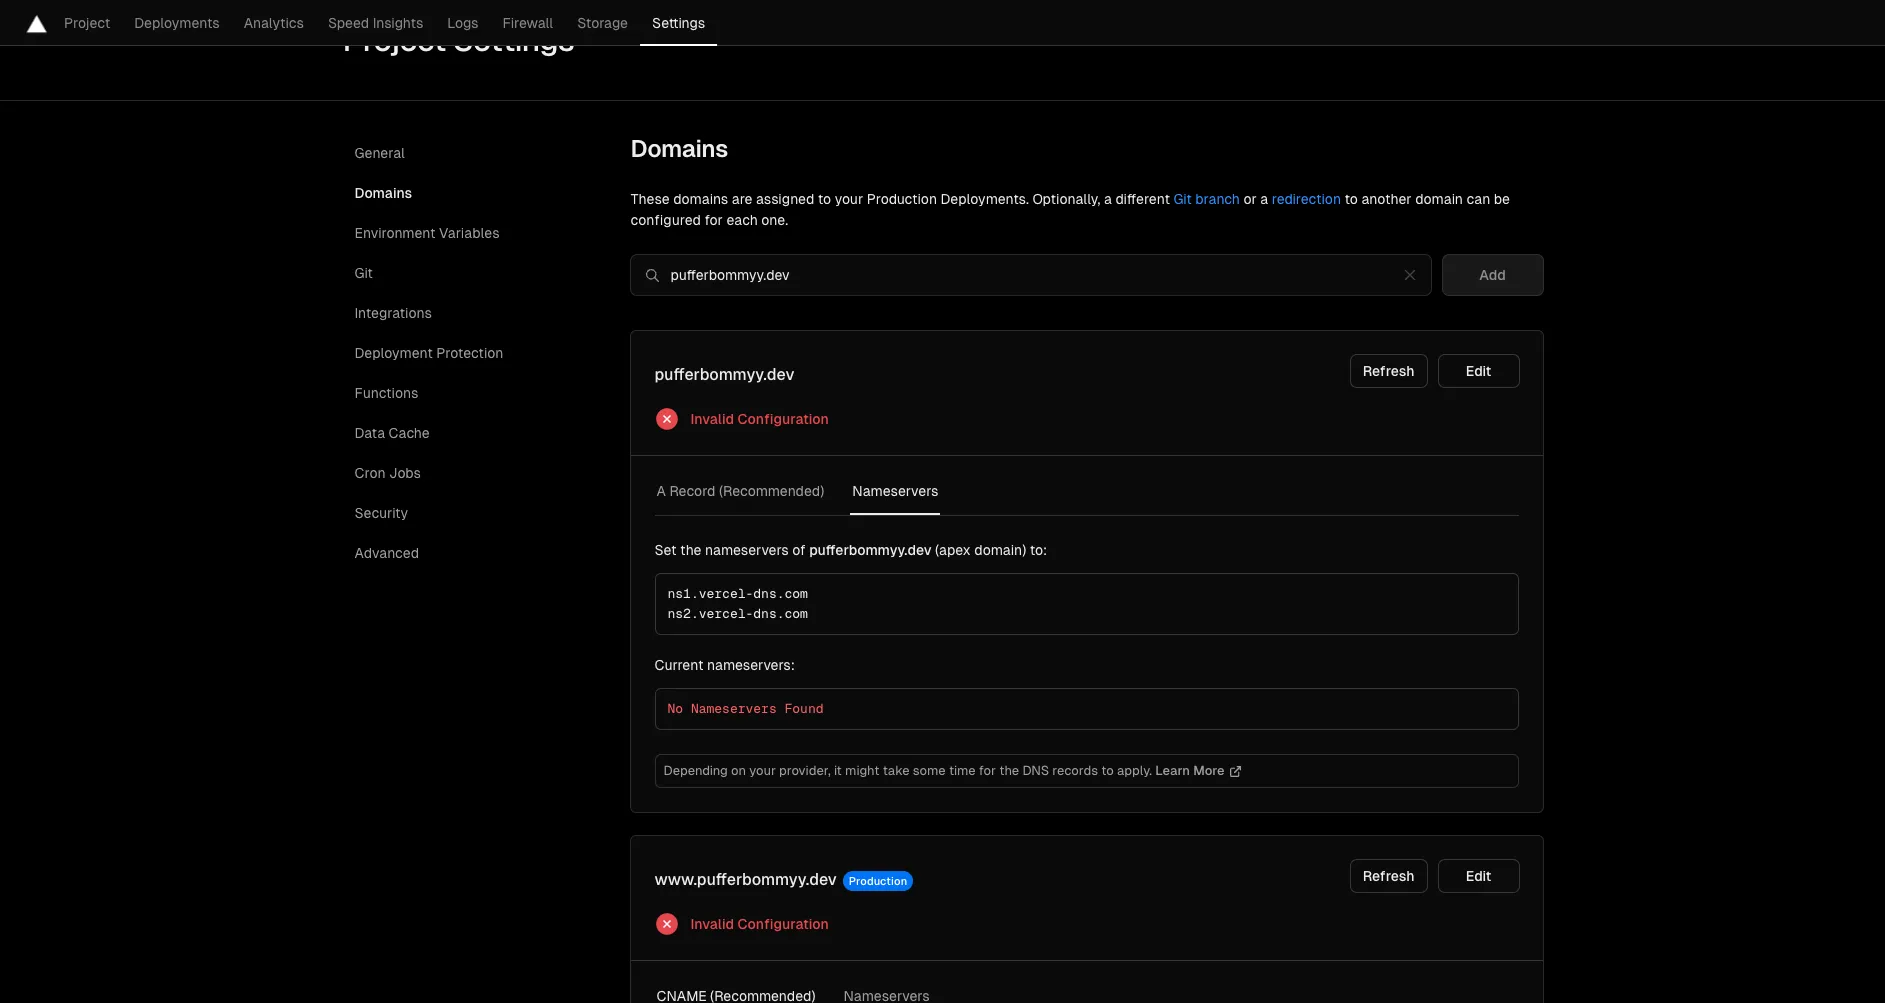
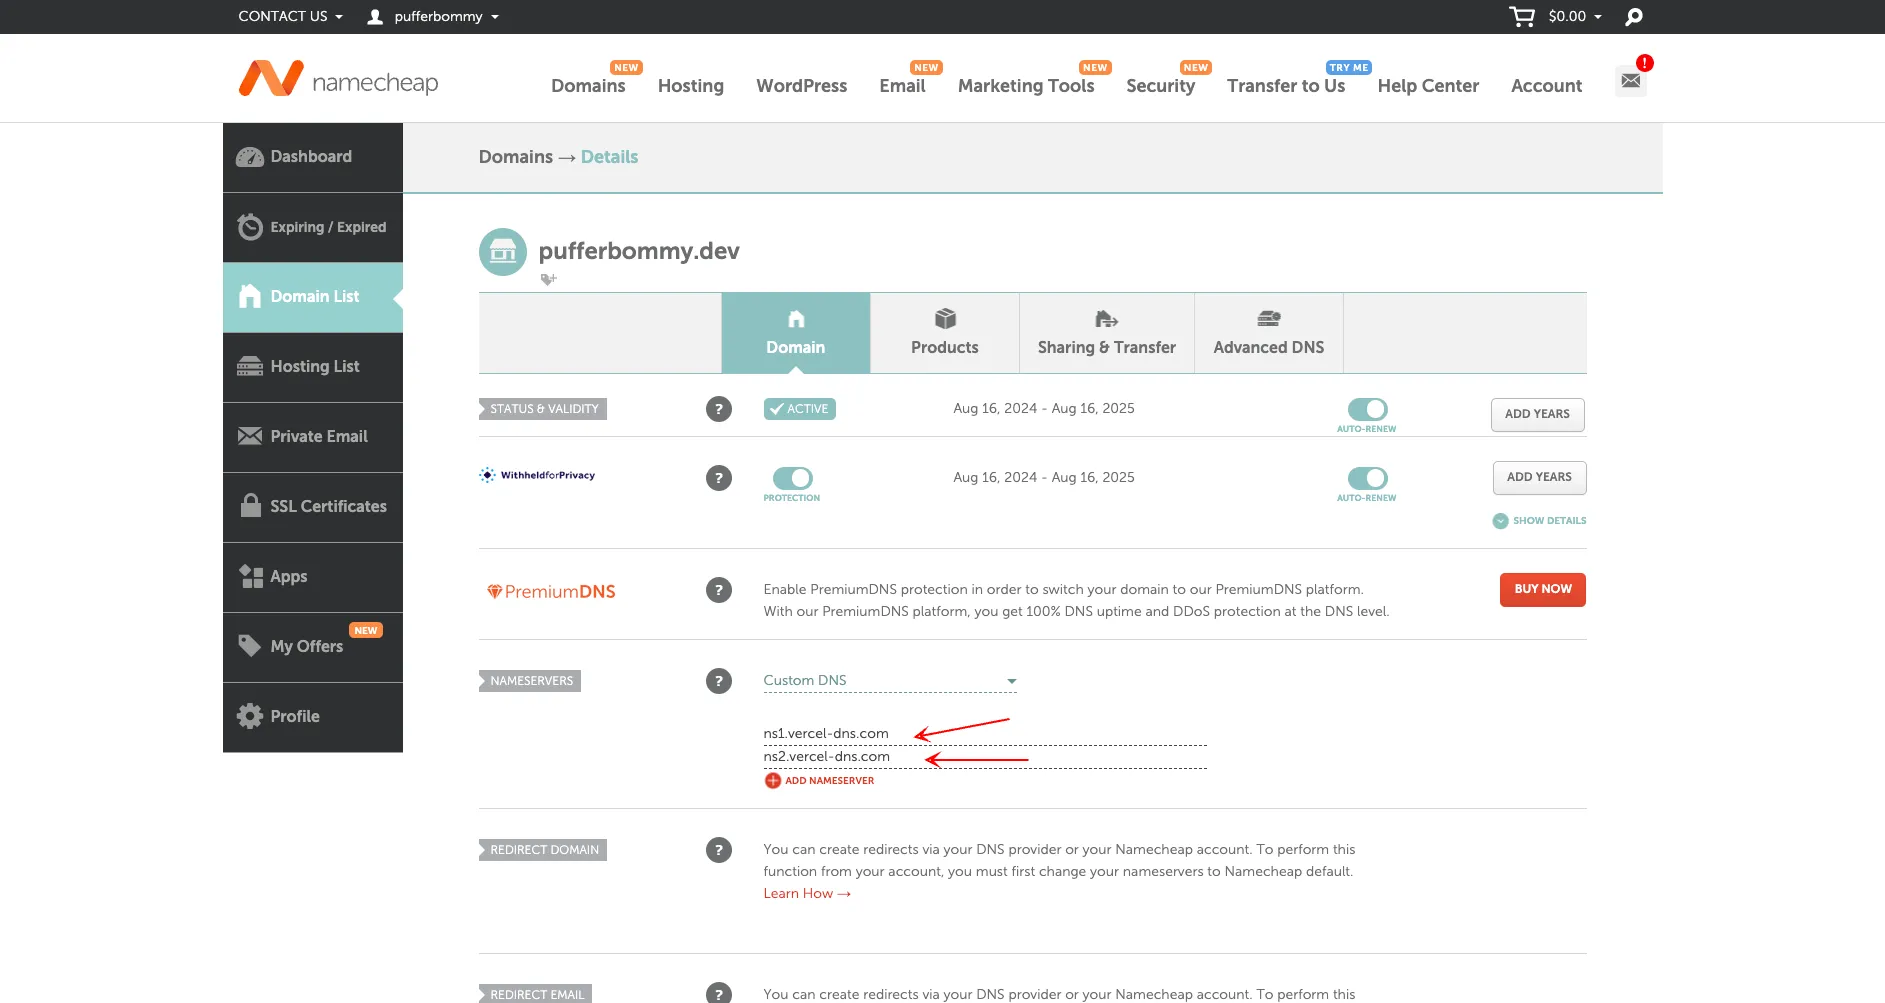
Step 6: Configure Nameservers
To make the custom domain work, I configured the nameservers on Namecheap. After setting up the nameservers, I waited a few minutes for the changes to propagate.
And It’s Live!
Now, my website is live with a custom domain. The entire process was seamless, and I’m excited to see it all come together!